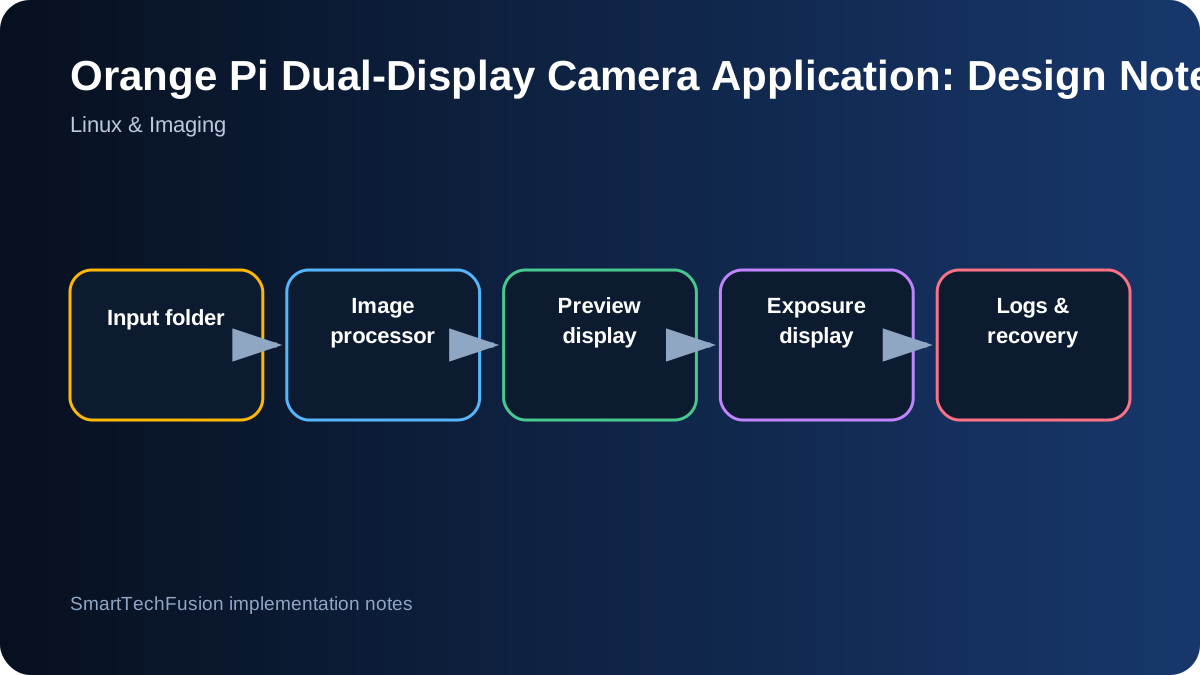
Define the two-display responsibility clearly
A dual-display system is easier to control when each screen has one job. The operator screen should show file selection, preview, status, calibration, and diagnostics. The exposure screen should show only the exact image or channel required by the process, without desktop decorations, notifications, or accidental cursor movement.
Identify displays by stable connector or EDID information rather than assuming “display 0” and “display 1” will always remain in the same order. Provide a setup page that lets the installer select the preview and exposure outputs, apply rotation, and save the mapping. A test pattern should make physical confirmation immediate.
Use a predictable input-folder contract
Define which file extensions are accepted, how partially copied files are avoided, and what happens when two images arrive together. A safe pattern is to copy into a temporary name and rename after the transfer completes. The application can watch for the final extension and then validate that the file opens correctly.
Preserve the original file as evidence. Write processed outputs and logs to separate directories. Record filename, dimensions, color mode, load time, processing result, and any error. This makes it possible to distinguish a malformed source image from an application or display problem.
Separate RGB channels without changing source geometry
RGB separation should create three grayscale images representing the red, green, and blue channel intensities. Do not resize the underlying data merely to fit a preview. Keep the source width, height, and aspect ratio in metadata, and apply display-only scaling with letterboxing or controlled cropping according to the process requirement.
Color management must be explicit. Confirm whether source files are interpreted as sRGB, whether alpha channels are ignored or composited, and whether the display pipeline applies unexpected transformations. For calibration work, save the exact pixel values sent to the exposure renderer so the visual path can be reproduced.
Give exposure timing its own state machine
Exposure is not just a screen delay. Model it as states such as idle, preparing, displaying, holding, blanking, complete, and fault. Disable conflicting controls while exposure is active. Use a monotonic timer for duration measurement so a system-clock adjustment does not change the hold time.
Preset values from 1/1000 second to 1 second should be represented in one unit internally, such as microseconds or nanoseconds. The actual visible duration is influenced by the display refresh period and compositor. Measure practical timing and document the limits rather than claiming sub-frame precision that the hardware cannot deliver.
Calibrate the whole visible path
A calibration control should identify the display, refresh rate, rotation, brightness settings, renderer mode, and timing offset. Store calibration by device or display identity so moving the installation to a different screen does not silently reuse unsuitable values.
Provide test patterns for full white, black, red-channel grayscale, green-channel grayscale, blue-channel grayscale, checkerboard, borders, and dimension labels. These reveal scaling, clipping, rotation, dead pixels, and channel mistakes before a real image is exposed.
Make startup and failure visible
At boot, log operating-system version, application version, detected displays, selected outputs, writable folders, and configuration path. If the exposure display is missing, the application should enter a visible fault state instead of using the operator display by accident. A clear diagnostic page is more useful than a blank screen.
Use a service manager to restart the application after a crash, but avoid endless rapid restart loops. Keep recent logs with rotation. Include a safe mode or simulation flag that performs the complete workflow without driving the final exposure output, allowing remote testing when the physical display is unavailable.
Package installation and recovery with the source
A complete handover should include source code, pinned dependencies, configuration examples, startup service files, folder permissions, display-selection instructions, calibration procedure, diagnostic commands, and an uninstall or rollback path. A ZIP is useful only when another person can reproduce the installation from it.
Test a clean installation on the target Orange Pi image before delivery. Reboot, disconnect a display, supply a corrupt image, remove write permission, and recover from each condition. These tests turn a promising application into a maintainable system.